Welcome, Friends!

What can you do if you need a great nail art design that is both elegant and playfully pink? Well, you could try out this new design that I'm about to show you today. I like to call it “Bubbles of Eden.” It is the ultimate combination between free hand painting, Konad stamping techniques and crystal rhinestones. What could be better?

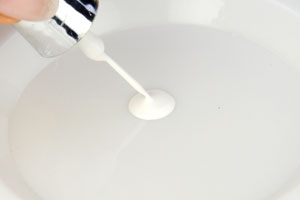
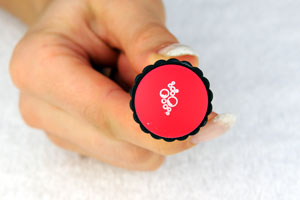
What you’ll need: liners (pink, hot pink, black), rhinestones, Konad special polish – white, top coat, scraper & stamper set and Konad image plate Nr. M16
Technique: Free Hand Painting + Konad
Skill Level: Beginner
Now, let's get started with the magic!

The first step is to paint a smooth, abstract shape over the tip of the nail using a pink liner. There is no set way that this has to be done; each shape should be as unique as the infinitely cresting waves of the ocean.

Allow the first nail to dry as you repeat this process on the others. Now, use some white liner to create a medium sized flower petal over your pink figure.

Now repeat this last step so that your flower has three petals. The flower should look robust and full since this will be the main element of your design.

Now it's time to introduce a third colour into our design. This colour, we will create by mixing our white and pink tones to create a very light shade of soft pink. Use the centre of your colour palette to mix these two colours until you get just the right tone.

Now use our newly created shade of pink to colour over our flower design. This colour should be light enough for it to really stand out against the darker pink background.

Now we will introduce yet another colour into the mix. Use a hot pink liner to paint small, delicate lines inside each petal, endowing the flower with a natural look.

You can finish the flower design by adding some tiny black dots in the centre of the flower. Just add a few, and try to make them look as haphazard as possible.
And we're not done yet! Now it's time to introduce some Konad nail art into this design. Using the special Konad stamper, transfer a design from image plate Nr M16 to the nail surface.


These Konad forged bubbles should endow the entire scene with an air of lightness. Remember to apply a layer of Konad top coat so that your design doesn't smudge!

And while the top coat is still sticky, finish up your design by placing a few crystal rhinestones in lines at the edges of your pink background pattern. This immediately adds an extra bit of sparkle and luster to your design. You could also try using Swarovski crystals in this design for an even more luxurious look. (But watch out! This could get expensive!)

And bingo, you're done! You've added yet another great nail art design to your repertoire. You might want to make every second or third nail without a flower just to break up the monotony as I've done here. I think this makes your design look much more natural.
Now, if you don't have a set of Konad tools handy, you still can use this design if you are willing to try to draw your bubbles by hand using an extra fine brush! (Although the Konad system will definitely save you some time.) Good luck! :-)
Không có nhận xét nào:
Đăng nhận xét